1,Leather glove
2,Finger trigger glove
3,Optional Parts for Effon Ring scanner NS02
Effon Ring Barcode Reader Scanner Finger trigger glove
1. Introduction
Table1.1
| Model | Function and description | Picture | |
| GS02-E2 |
●Industrial Ring type 2D bar code scanner ●Bluetooth HID, SPP, BLE mode, offline data upload feature ●Supports NFC pairing connection ●With vibration, sound prompts ●Zebra SE2707 scanning engine employed (optional) ●Top touch trigger function ●Button life up to 1 million times ●550mAh replaceable rechargeable battery, can work 24 hours a day ●Industrial-grade PC+TPU two-color mold housing ●IP65 rating against dust and water ●2,000 3.28 ft./1m tumbles ●1.5m drop test (200 times) | | |
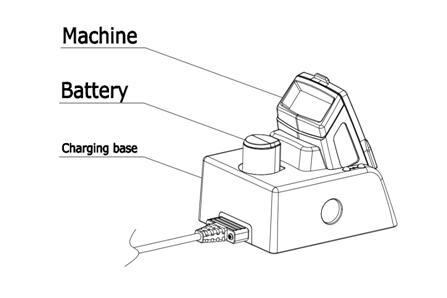
| Charging | ●It can charge both batteries and machines at the same time with BFP1 or BFP2. ●Charging time just for 2 hours.(When the battery capacity is 550mA) | ||
|
| |||
2. Using manual
Turn on: At the push of a button, the green light will shinning once time,at the same time the buzzer will ring once, and the device will vibrate keep ashort time(100ms), then the reader is started.
Turn off: After 20 minutes of standby, it will automatically turn off, thegreen indicator light will turn on, the buzzer will sound, and the device willremain vibrating for 0.6 seconds. Then all instructions will stop and thescanner will turn off.
2.2 Buzzer and indicator Light State
Table2.1
| LED light and buzzer status | Description |
| After scanning the barcode, the green light flashes once and the buzzer ring once. | Scanned barcode decoded successfully |
| Green light turns on and off every 1 second | Alert battery low |
| Blue light flashes quickly | The device is in Bluetooth HID mode |
| Blue light flashes slowly | The device is in Bluetooth SPP mode |
| Blue light goes out after Bluetooth pairing | Bluetooth pairing succeeded |
| Red light is always on | The device is charging |
| The red light goes out during charging | Indicates that the device battery is fully charged |
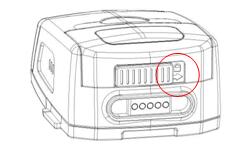
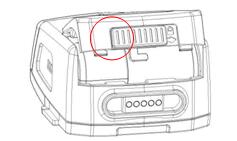
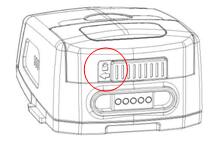
2.3 Battery disassembly
Table 2.2
| A.Push the push button to the left in the direction of the arrow | B.Keep the push button on the left and pull the battery cover up to open the battery cover and remove the battery. | |
| | |
| ⑵Install the battery | A.With the battery electrode facing down and into the battery slot, insert the two buckles on the battery cover into the holes on the top of the machine. | B.Keep the push button to the left, cover the battery cover, and press the battery cover firmly to push the push button back to the right. |
|
|
|

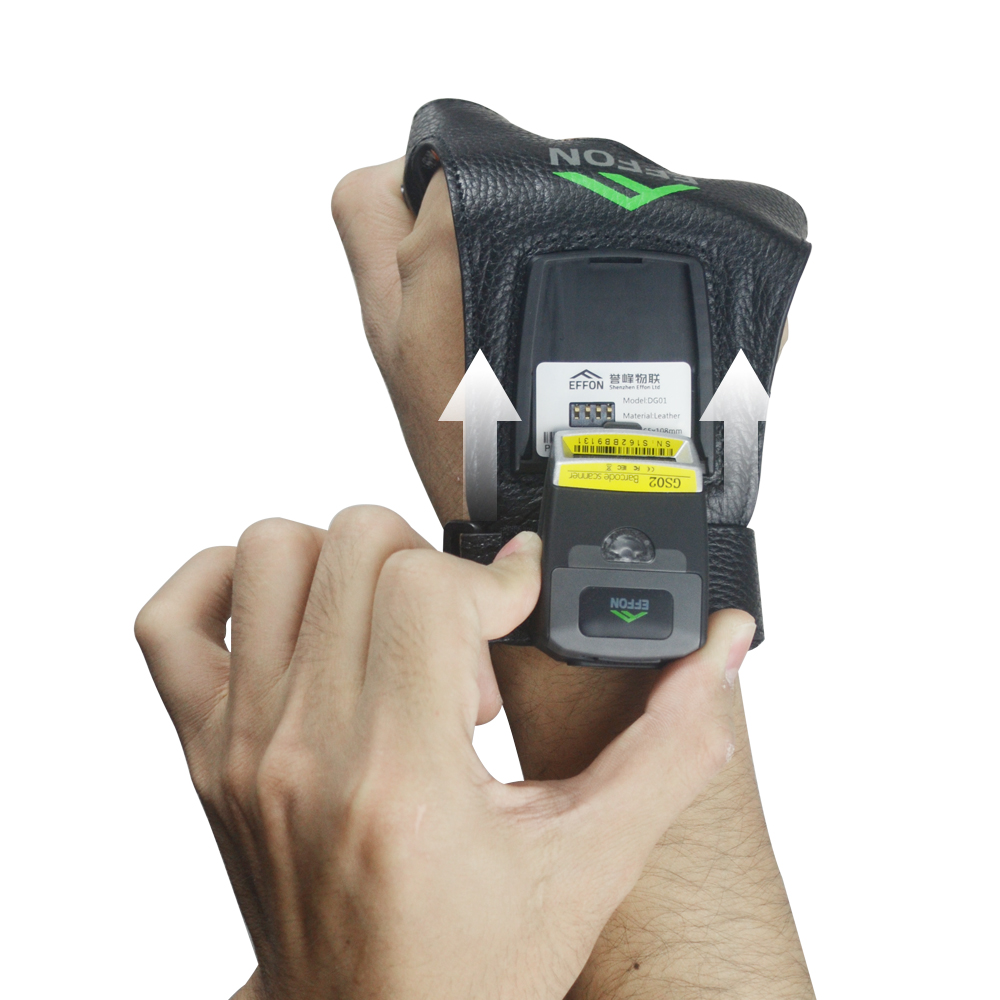
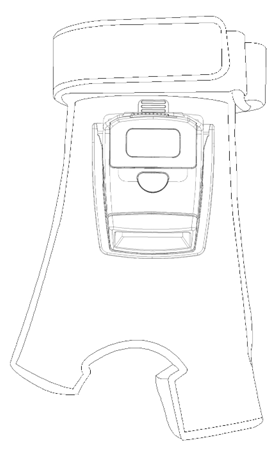
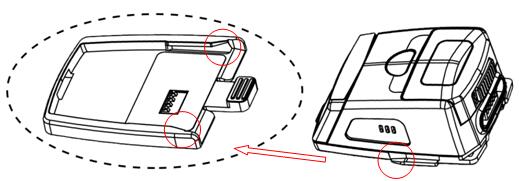
2.4 Machine disassembly
Table 2.3
| ⑴Install the machine | Align the protruding fin buckle on both sides of the machine with the slot on the glove, gently press the machine and push it to the end, the installation is successful. |
| |
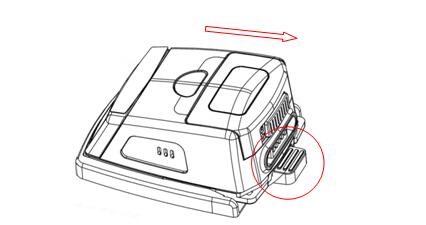
| ⑵Remove the machine | Press down the tail buckle, pinch the sides of the machine, and slide it out. |
|
|
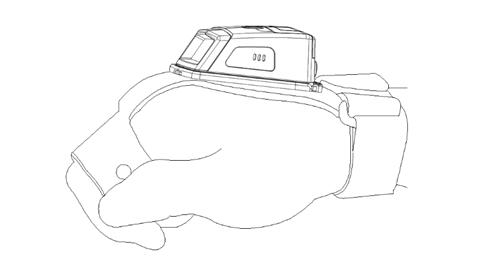
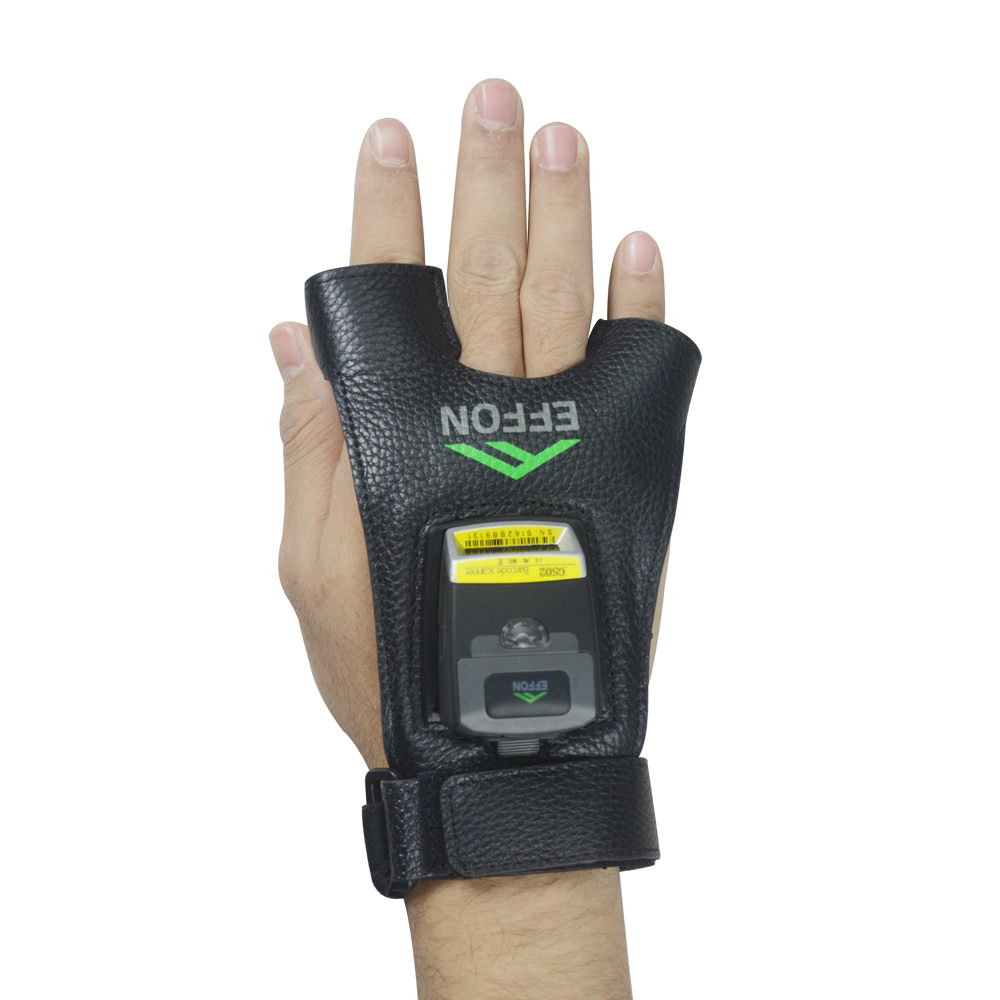
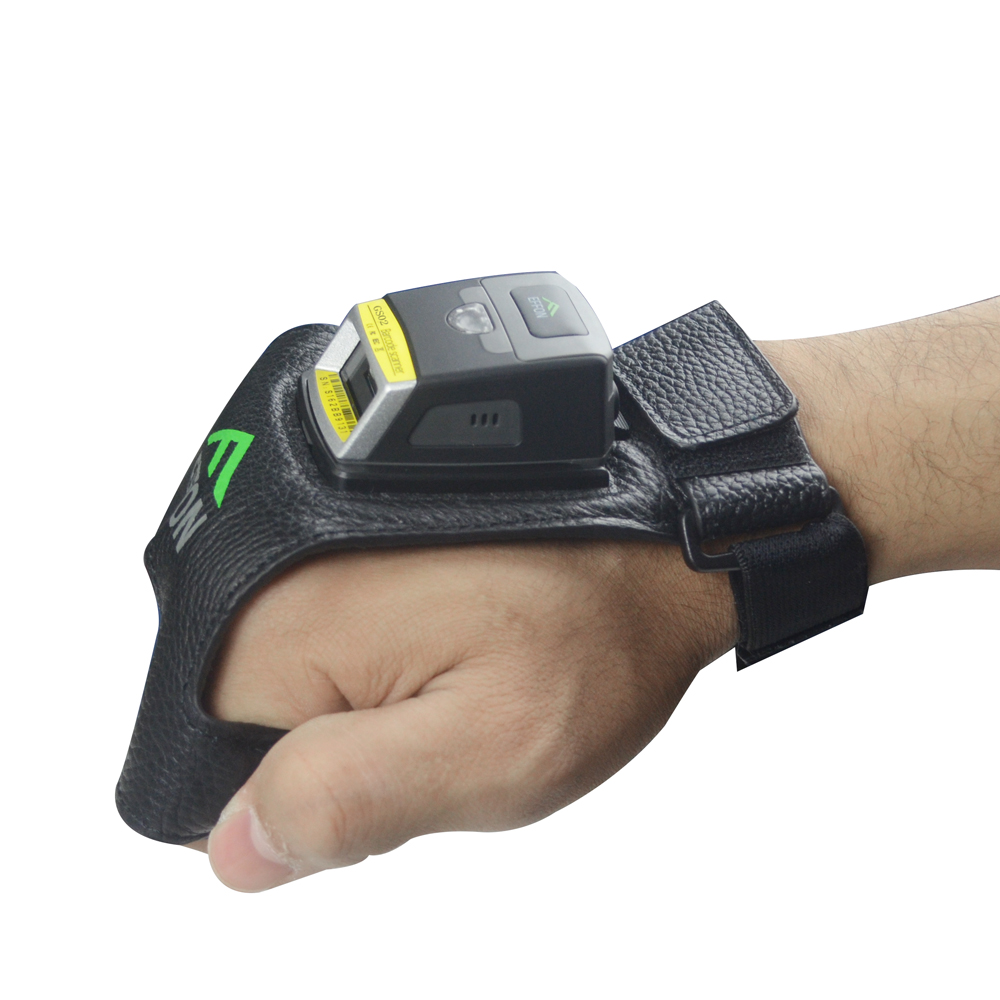
3 Wearing schematic
|